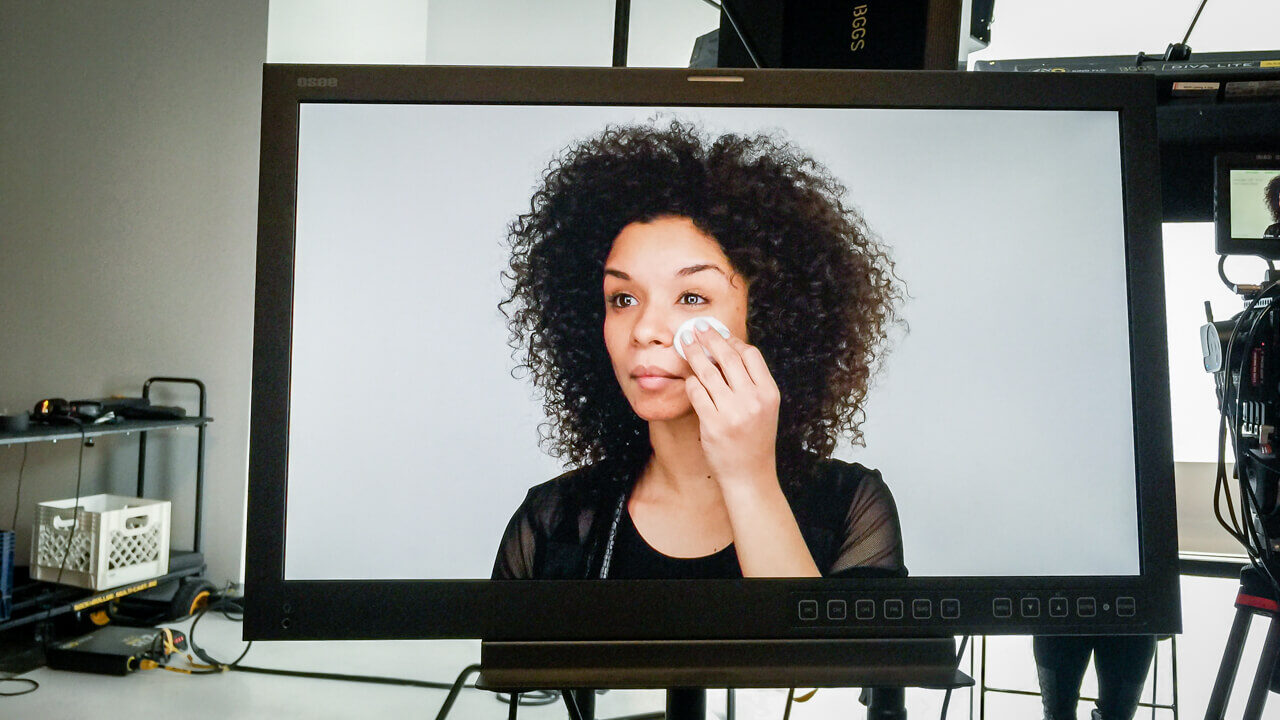
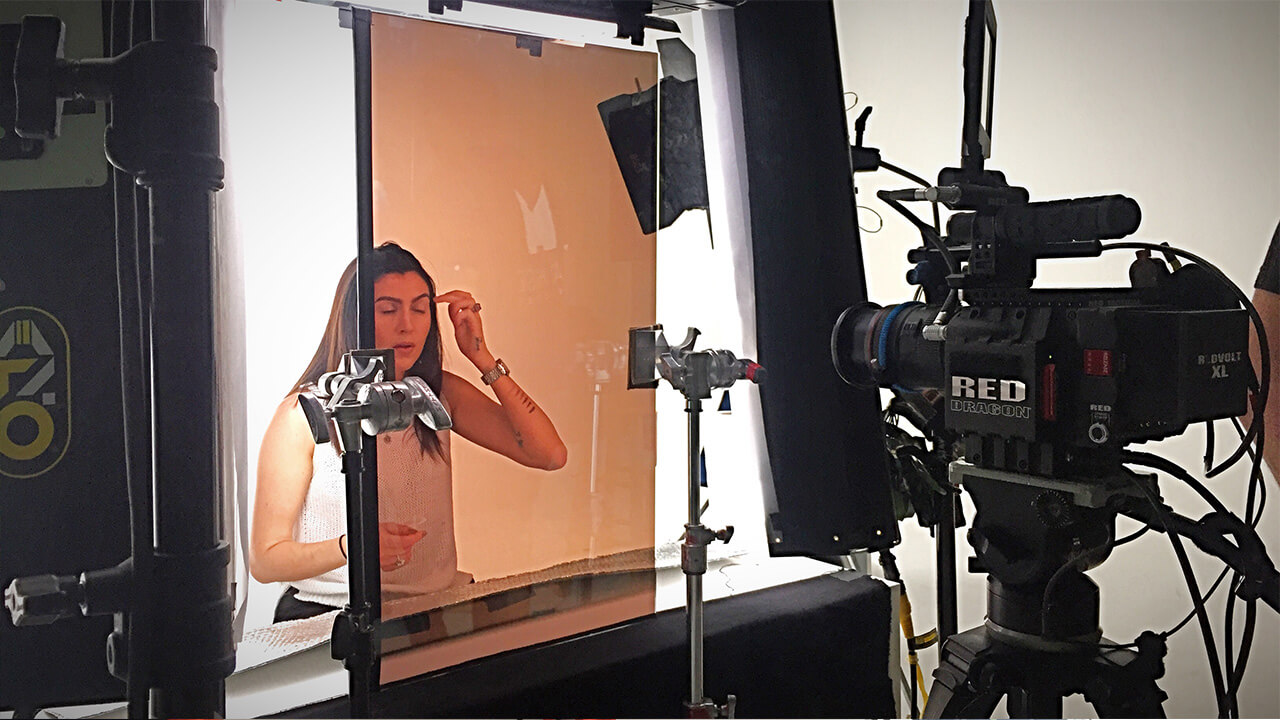
Women’s beauty retailer Sephora has an ever-growing YouTube catalog of cosmetic review and tutorial videos that we contributed to. For the tutorial videos, we had one challenge. That challenge was how to make the makeup artists look into the lens while applying their makeup and doing their hair.
Our first approach used a smaller mirror mounted beside the camera that the artist could look into. However, it didn’t give us the “look straight into the lens” effect we wanted. The problem with this set up was the off-center gaze. The solution was to increase the surface area with a one-way mirror. This ensured that the artist was looking straight ahead and not straining their eyes on a small, offset mirror.

When Color Shifts And It’s Dark
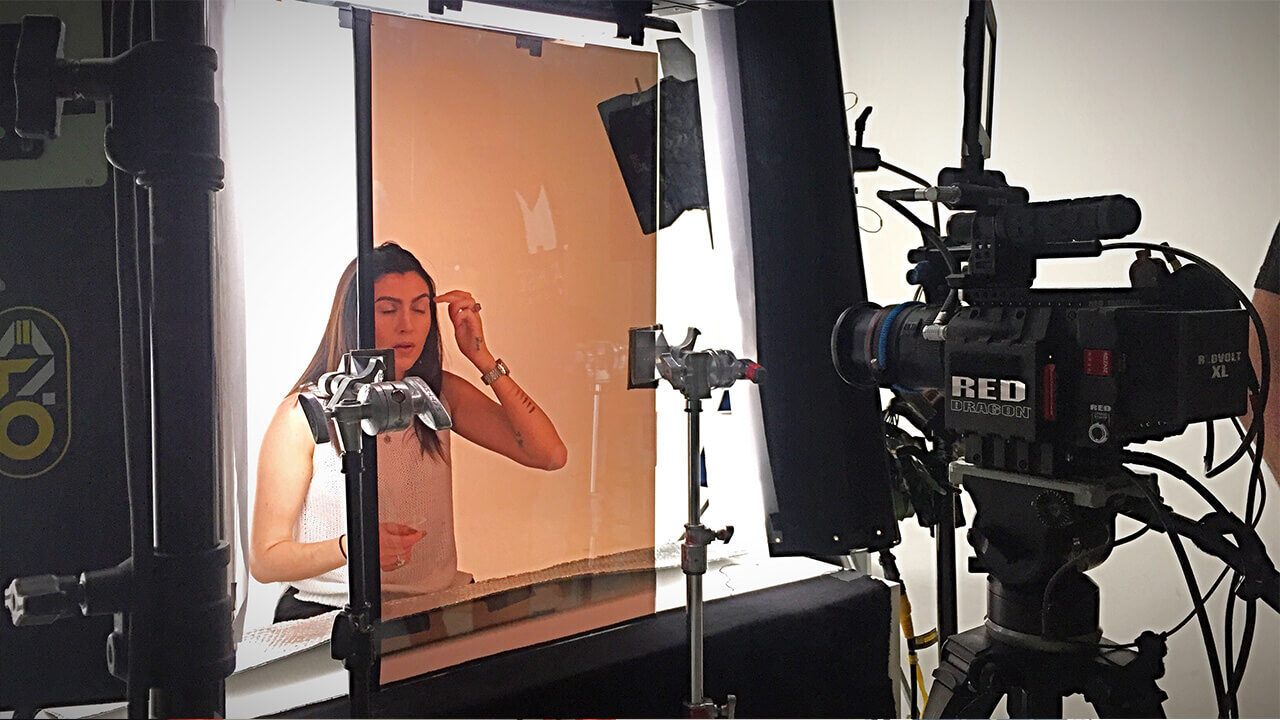
Going into production we knew of two camera adjustments we needed to make. Since the one-way mirror had a brownish-orange tint, we adjusted our camera settings to get proper skin tones and color. Secondly, we used a light meter to find out that we lost about 4 stops worth of exposure due to the mirror’s deep tint. It took minor color grading in post to match the Sephora aesthetic.

Lighting For Two Setups
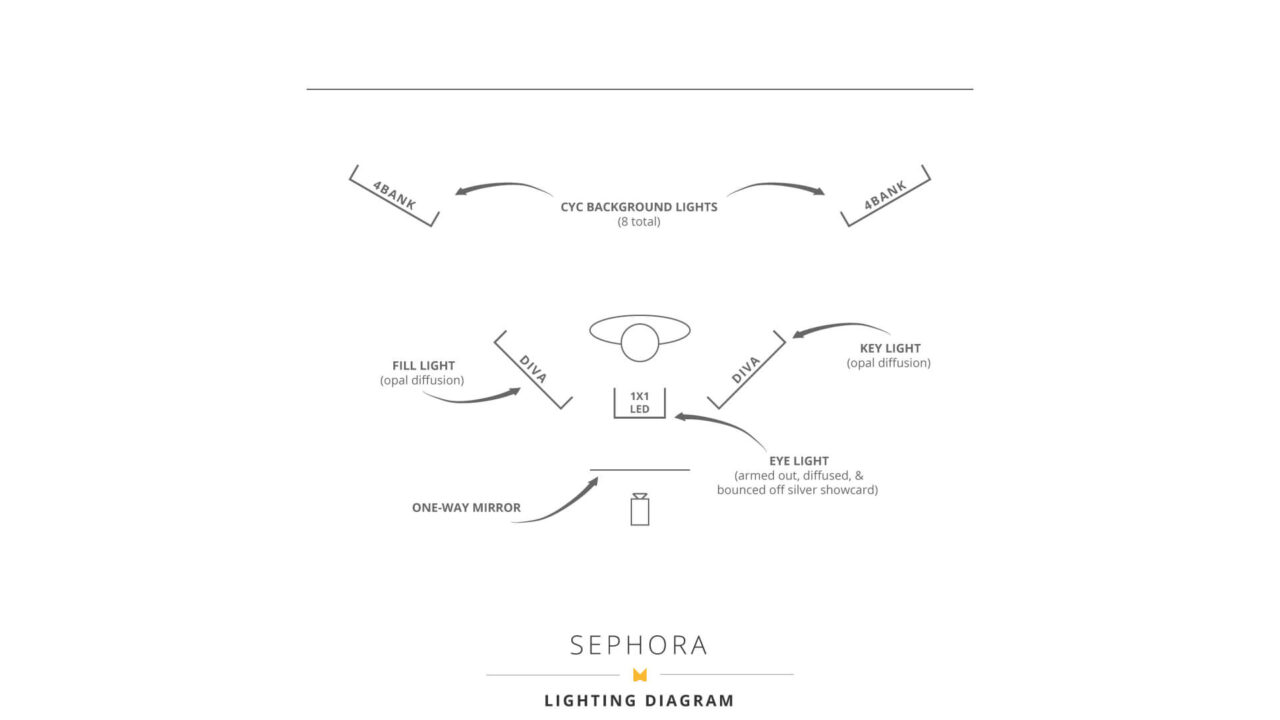
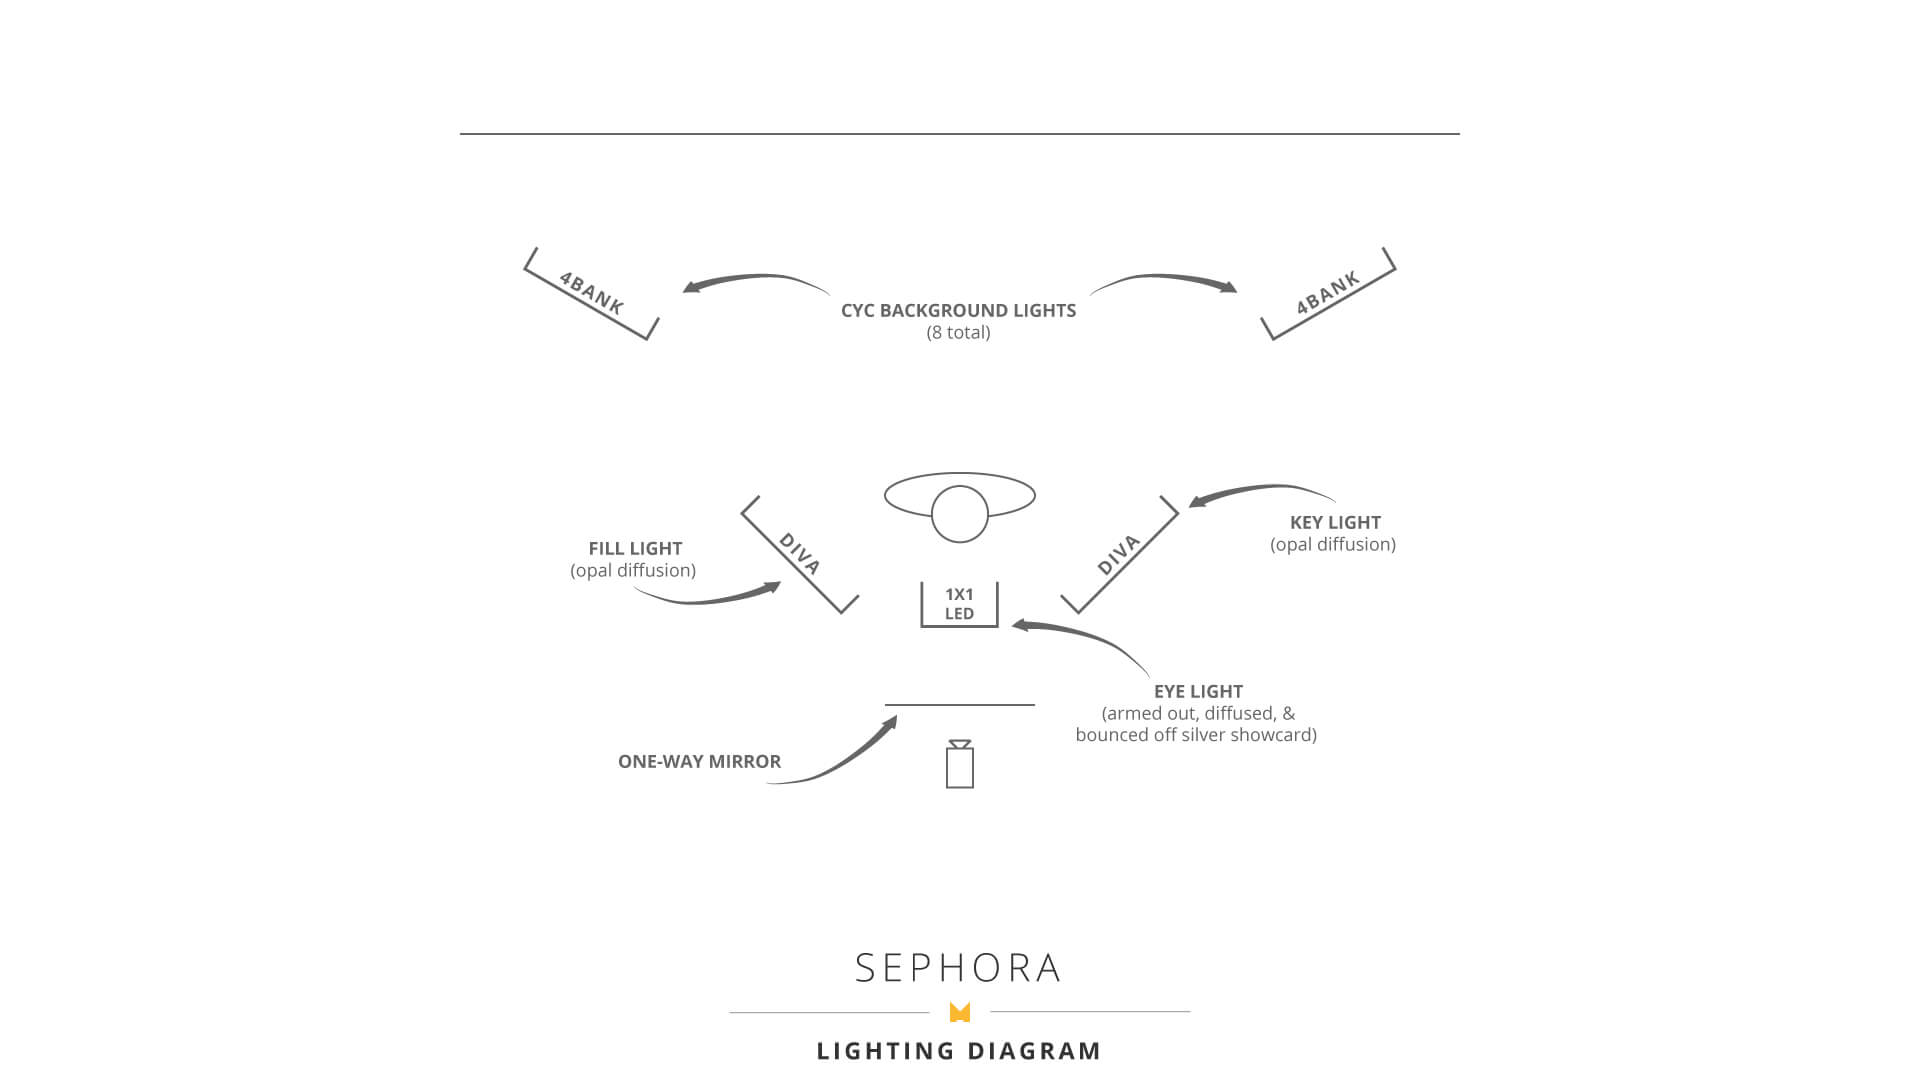
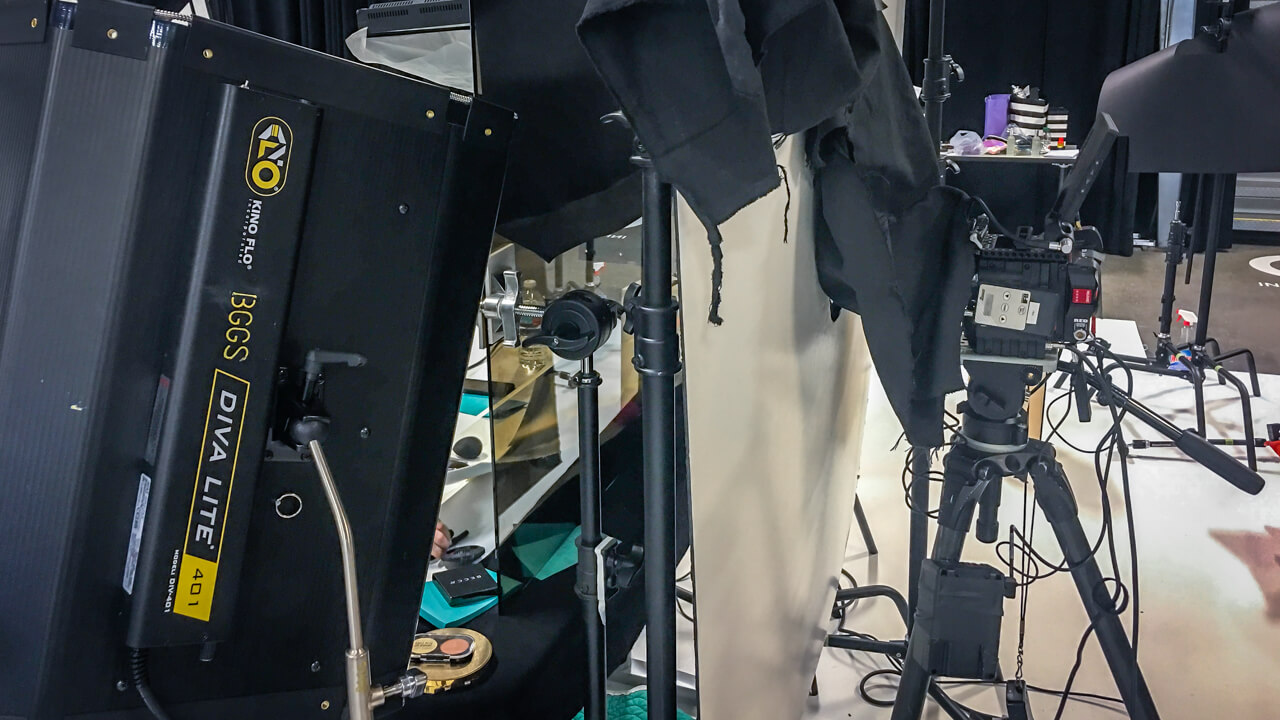
Each day we alternated between videos that used the one-way mirror and videos that didn’t. Exposure was important. We wanted to shoot as close to f4/f5.6 for depth of field. We lit talent with two Kino Flo Diva lights fitted with opal diffusion. A 1×1 LED positioned above talent was diffused and bounced off a silver show card. The white cyc was lit using eight Kino Flo 4Bank fixtures.

Darn Those Reflections
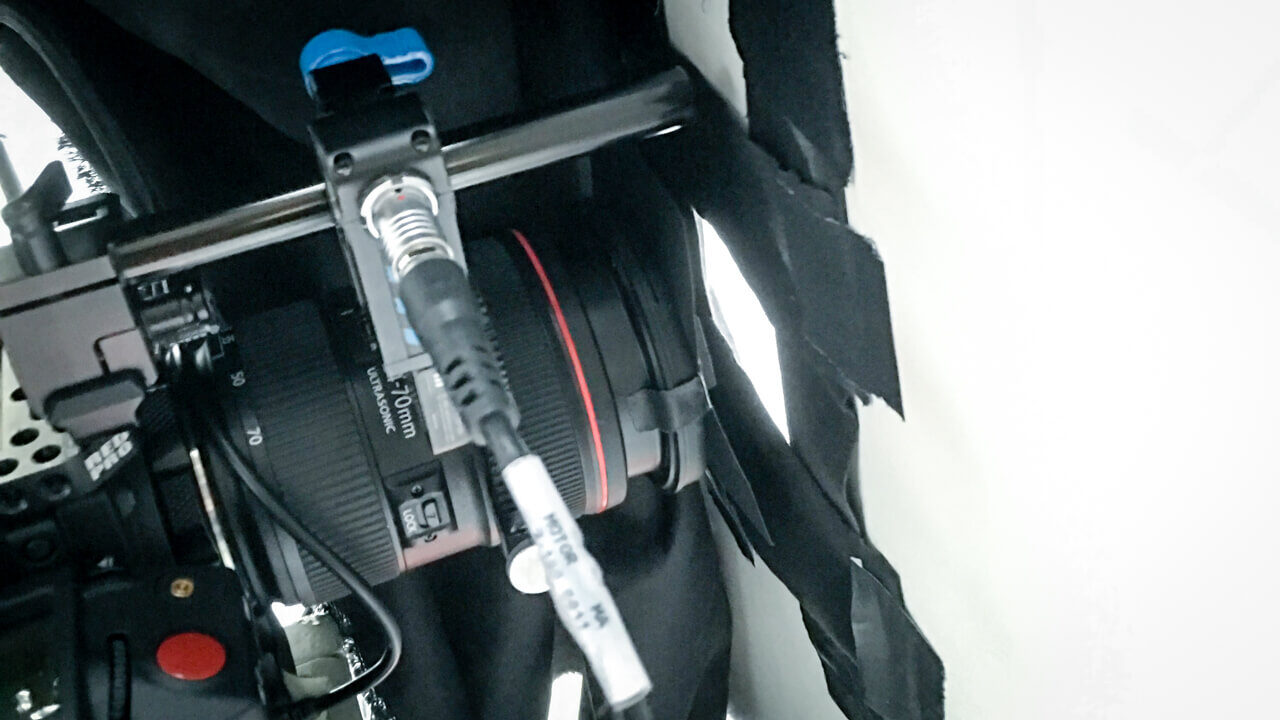
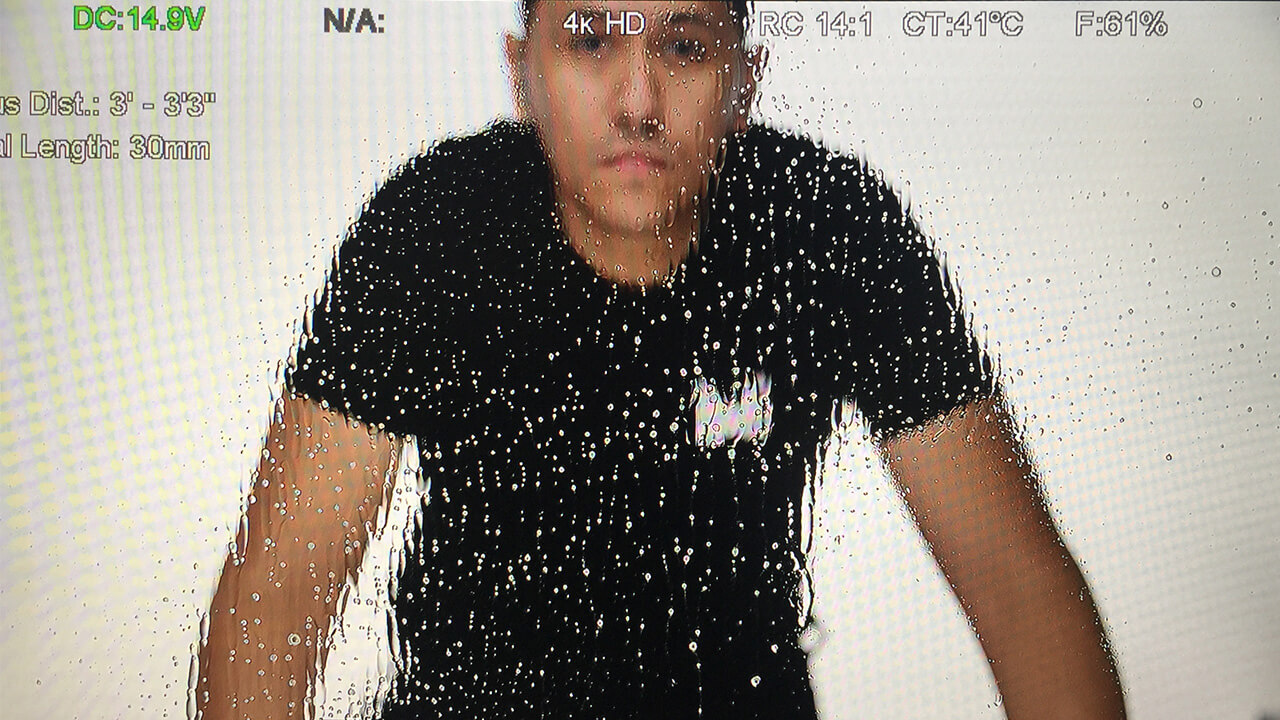
Our camera was pointed straight into the mirror, and as a result the glass reflected everything. We used 4×4 black/white foamcore and duvetyne with a hole cut out for the lens to peek through. This rig managed to get rid of most of the reflections. For fine adjustments, we added black paper tape across the top and bottom of the lens – as well as the hole in our foamcore/duvetyne.

Packing Up Our Kit
Viewing the final video, you’d never think of all the work that went into it. You may be naïve to think that it was a camera, talent, and a white drop. It’s true at its most basic. When you factor in the camera adjustments, the lighting, and the troubleshooting, one begins to realize the expertise and technique needed to execute a professional video for a well-known brand.
When working with any client it’s important that you fulfill their needs. The work doesn’t begin when you load into the location. It begins well before. It’s all that effort that leads to an enjoyable shoot and that leads to ongoing work. There’s an adage that comes in various variations, but the gist is: under promise and over deliver. That may very well be the formula to continuing a solid relationship with a client.


